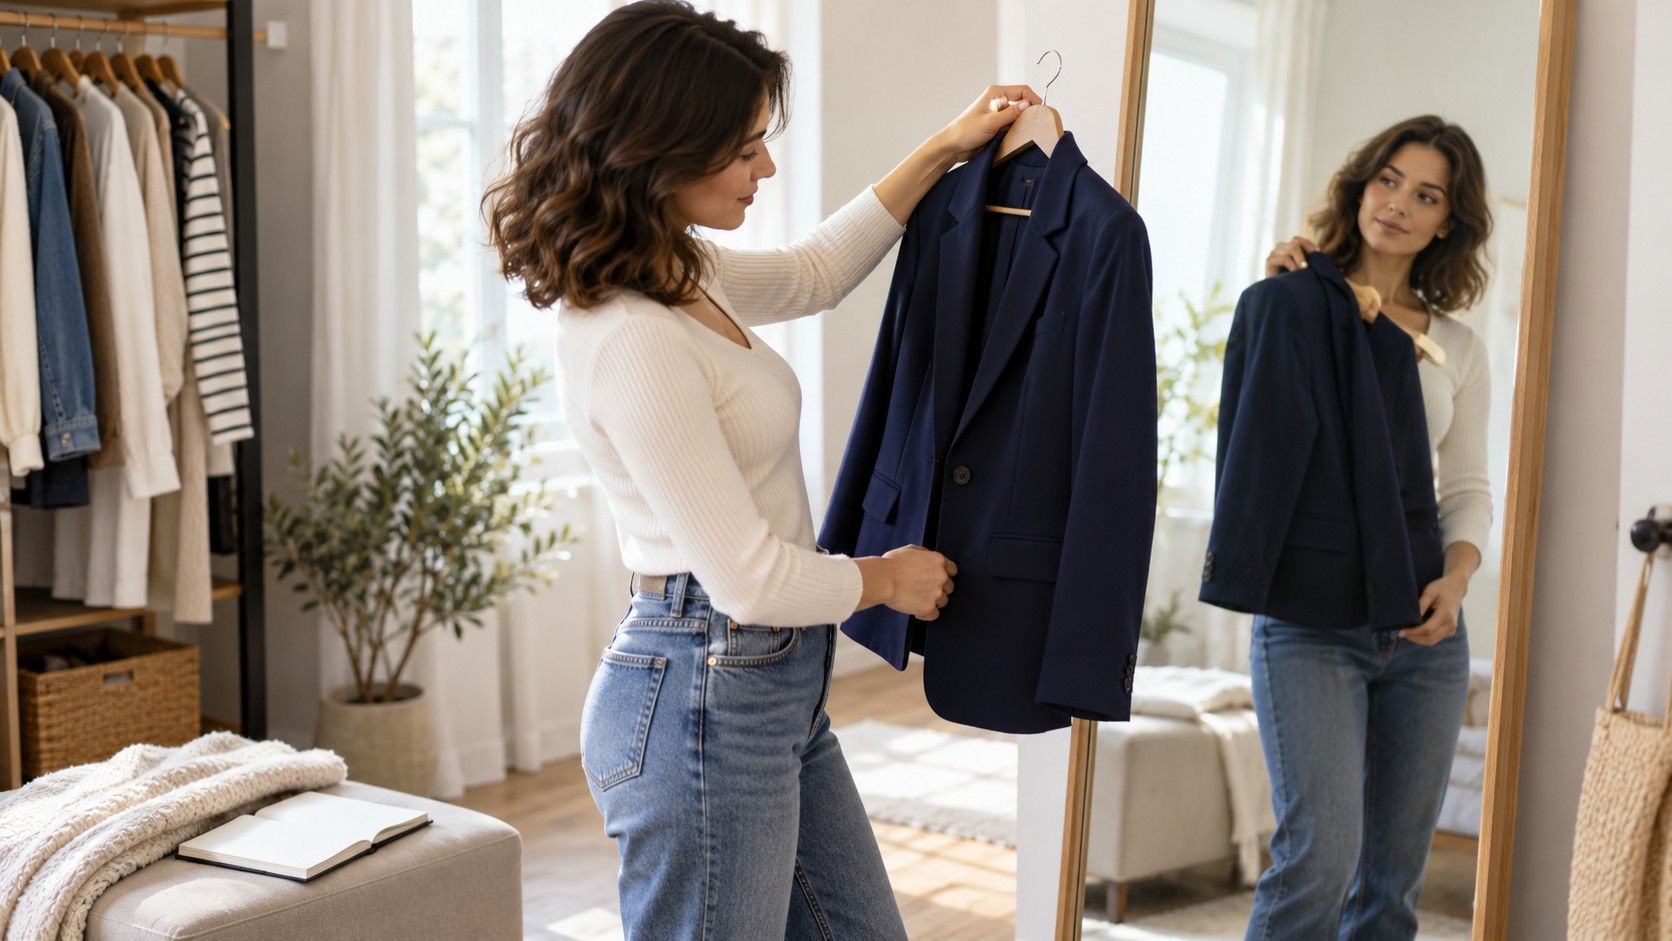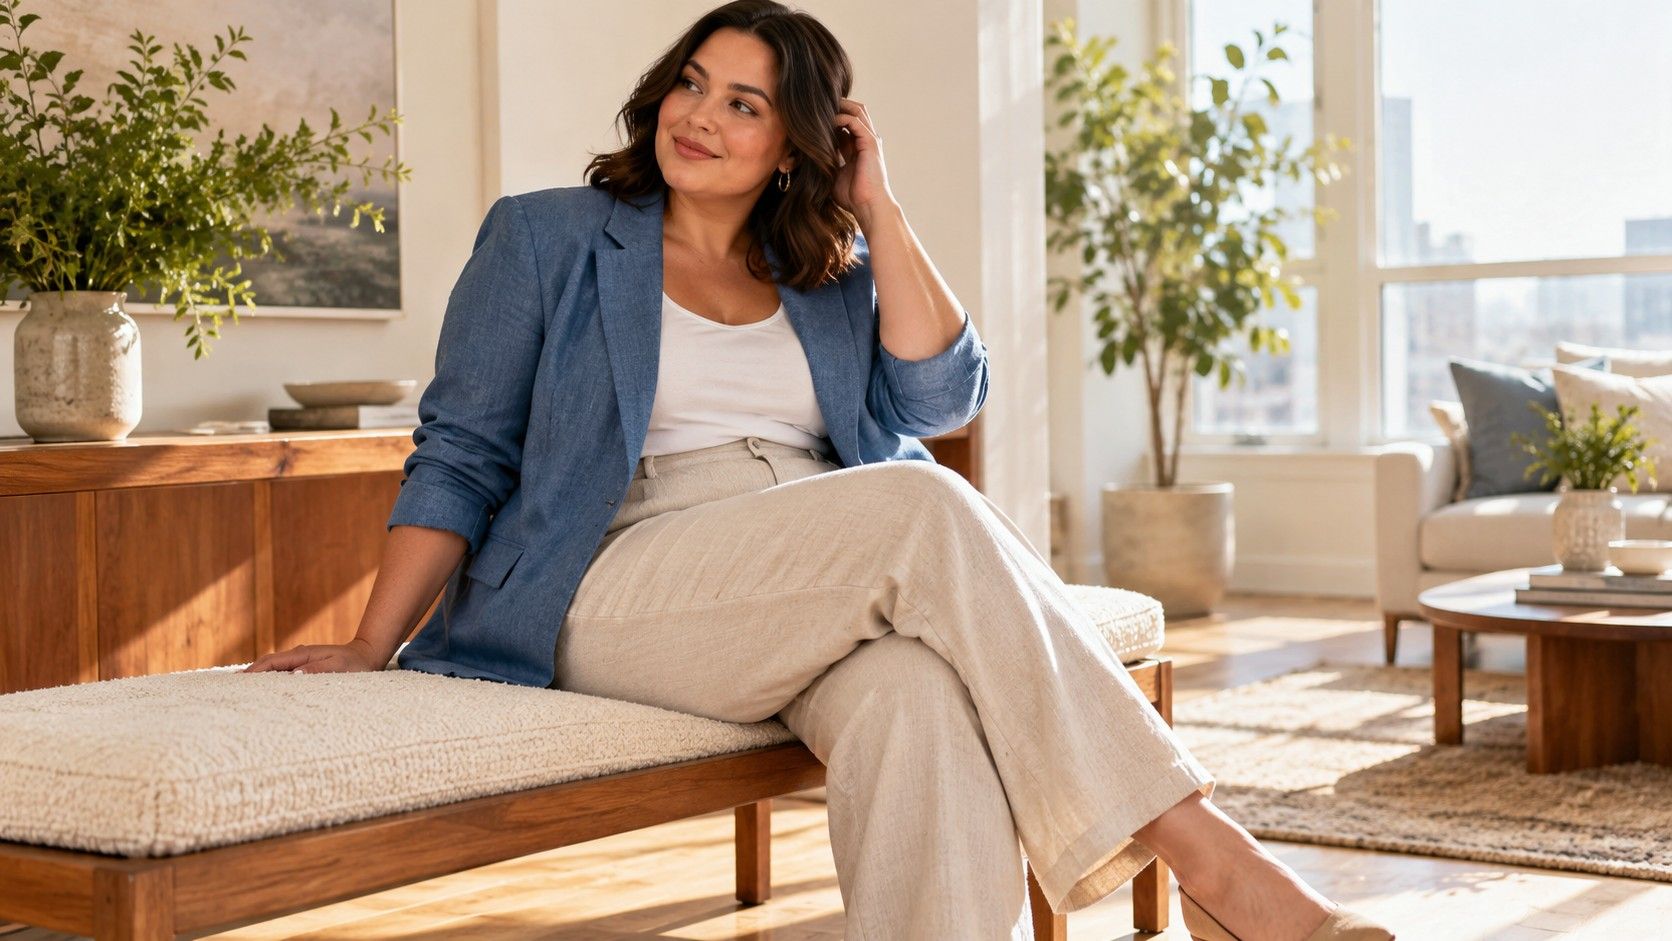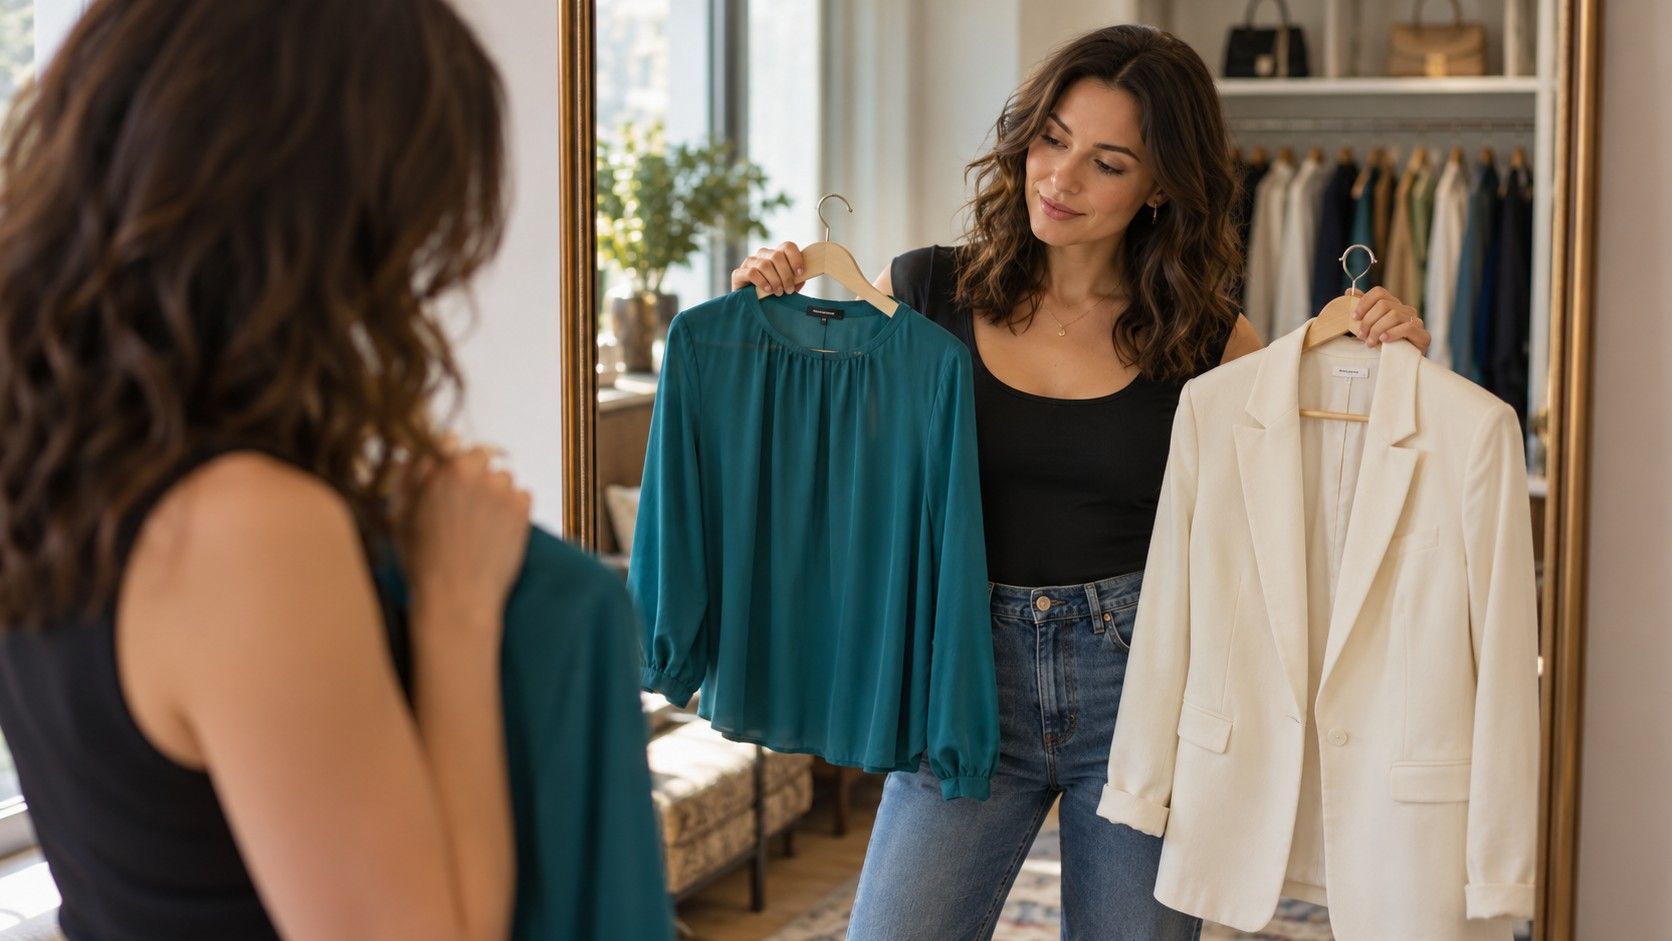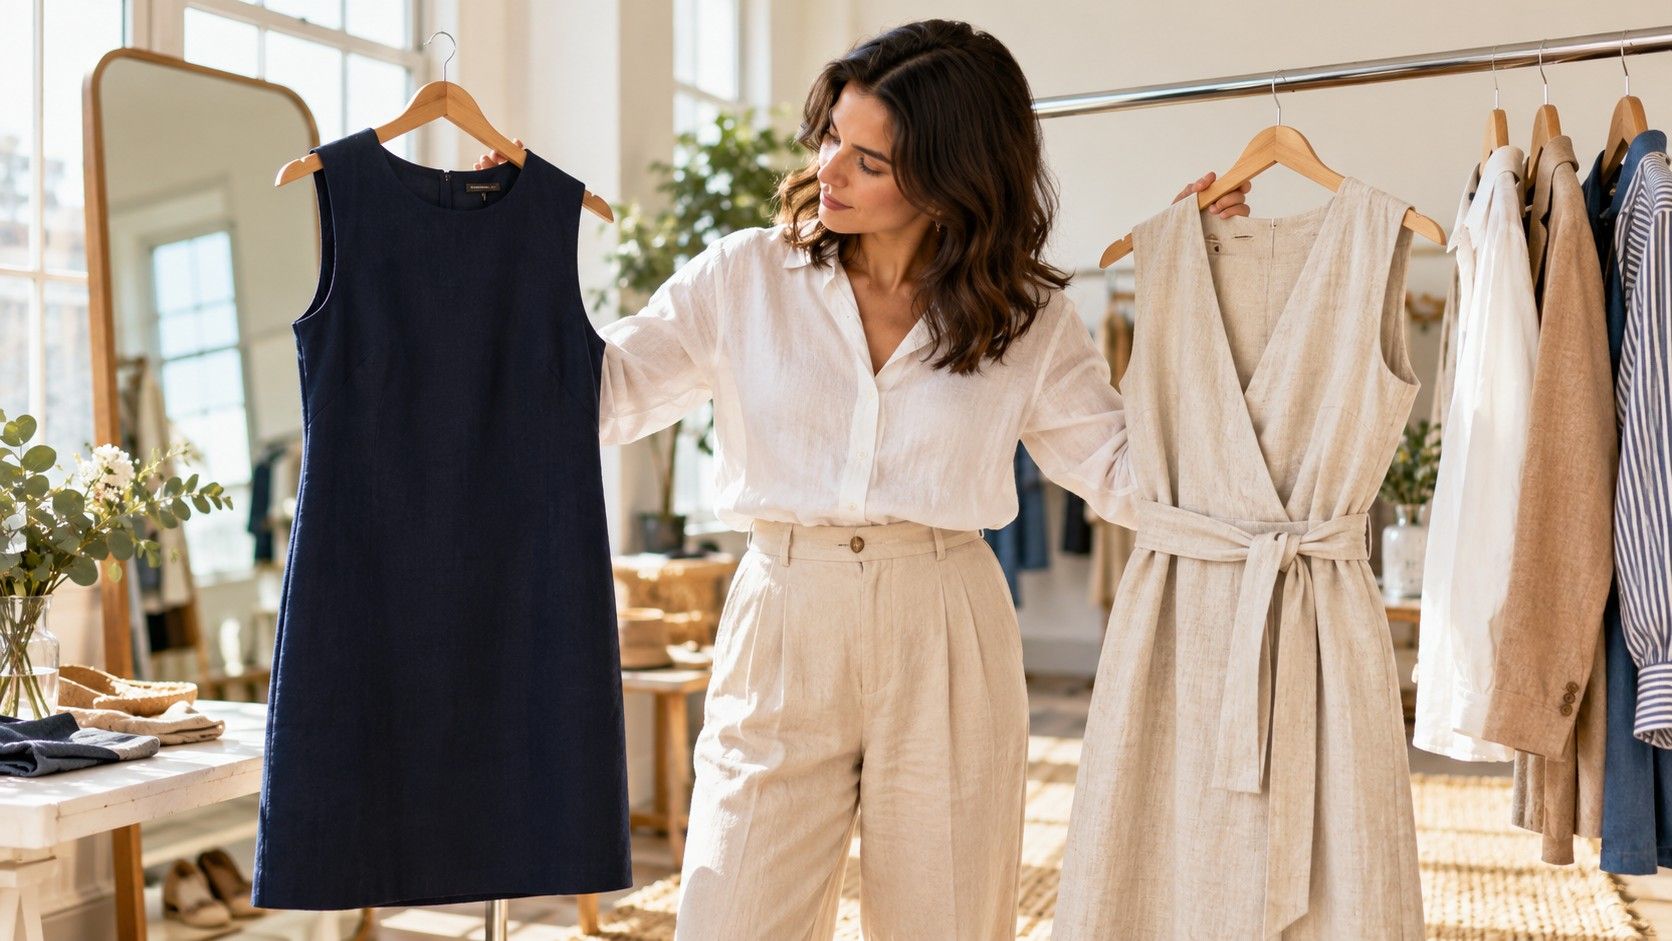
A rectangle body shape label can suggest outfit experiments, but it does not tell you what your clothes must look like. You may enjoy a straight silhouette one day and a clearly defined waist the next. I find it more useful to choose the line I want, then check whether the clothes deliver it comfortably, than to dress toward an imaginary correction.
Decide what you want the outfit to say today
Rectangle is a broad styling description often used when the shoulders, waist and hips appear relatively similar in width. It is not a medical category, and people using different measurement methods may reach different labels. You do not need a precise classification to compare an open jacket with a belted dress. Clothes respond to individual proportions, fabric and construction that a single shape word cannot capture.
Start with a familiar situation: an office day, a weekend walk or dinner where you will spend most of the evening seated. Then choose a direction for the outfit. A straight silhouette can feel spare and easy; waist definition can make the division between top and bottom more visible. Neither is the default correct answer. Your preference may change with your mood, the weather or the shoes you want to wear.
Take one top and one pair of trousers from your wardrobe. Try the top loose, tucked and partly tucked, leaving everything else the same. Notice both the outline and the feeling. A full tuck might make you want to keep pulling the fabric out; a loose hem might catch on the trouser pockets. These observations give you a real reason to choose a version, beyond what a rectangle body shape style checklist recommends.
Compare the cloth before blaming the silhouette
A straight shirt in crisp cotton and one in fluid viscose can have similar measurements yet create very different outlines. The crisp version may stand away from the waist. The fluid one may settle closer and collect around a tuck. Hang them side by side, then wear each with the same trousers. A photograph of a garment lying flat cannot tell you how the fabric will fall around a moving body.
For a clean column, try cloth with enough weight to hang without catching on every layer beneath it. For a softer shape, try a fabric that bends readily and releases from a tie or seam. These are starting points. Very thin fabric can cling, while very stiff fabric can create volume you did not intend. Check the garment while walking, sitting and wearing the underwear or inner layer you would normally choose.
The waistband and seams can matter as much as the fabric. A skirt with a rigid straight waistband may feel uncomfortable even when its hips have plenty of room. A shaped waistband might sit better, or it might be the wrong curve for you. Look for pulling, twisting and repeated adjustment rather than assuming that a particular fabric or cut always belongs with a particular body label.
Place waist definition where it feels comfortable
If you want a visible waist, compare a belt, a seam and a change of color. Each marks the middle differently. A belt gathers fabric; a fitted seam shapes it; a contrasting top and bottom divide the outfit without tightening anything. Try these options on an ordinary dress or trousers you already own. You can enjoy a defined outline without wanting a tightly cinched fit.
Move a belt slightly higher or lower, then sit for a minute. Does it slide, press against your ribs or fold over the waistband beneath it? Those are practical reasons to change its position or width. There is no universal belt height for a rectangle shape. A belt that works over a thin dress may become cumbersome over a jacket, where several layers gather into the same small area.
Gathered, wrap and fit-and-flare clothes can create the silhouette you want, but inspect their construction. A wrap neckline may open when you bend; side ties can feel bulky under a coat. A shaped dress that fits at the waist may pull at the back when you reach forward. Try the complete movement, not just the front view. A local alteration may improve a favorite garment, though complex changes need a tailor's assessment.
Build a straight outfit with intentional endings
For a straight outline, begin with trousers and a top in similar colors, or a simple dress with enough ease to move. Add an open layer if you want it. The connected color area can make the outfit feel continuous, while a contrasting jacket frames it. You do not have to match the colors exactly. Different textures in navy, grey or another familiar shade can give an otherwise simple combination enough interest.
Check where the top and jacket finish. If both hems stop very close together, the layers may look crowded to your eye. Try a shorter inner top or a longer outer layer and compare. If you like the original, keep it. The purpose of the exercise is to see the alternatives, not to enforce a spacing formula. Folding a top inward temporarily is a useful test before paying to shorten it.
Wide trousers and a loose shirt can form an appealing roomy outfit, but they still need workable lengths. Walk across the room in your usual shoes and take a step up. Trouser hems should not catch under your heel, and sleeves should let you use your hands. A straight silhouette does not require excess fabric in every direction. A cleaner sleeve or a slightly different hem can preserve the mood while making the outfit easier to wear.
Use one outfit to compare several proportions
I prefer a small comparison to a large shopping session. Put on the same shoes, trousers and top, then change one detail at a time. First compare the untucked and tucked versions. Next compare the open and fastened jacket. Finally add a belt if you want to see that option. Keep the versions separate enough that you can remember which detail you liked.
| Choice to test | Version one | Version two | Useful question |
|---|---|---|---|
| Outline through the middle | Loose top | Defined tuck or waist seam | Which outline do I want today? |
| Fabric behavior | Crisp shirt | Fluid shirt | Does it hang or gather as intended? |
| Layer length | Short jacket | Longer open layer | Do the hems feel deliberate together? |
| Color division | Related top and bottom shades | Noticeable light-dark contrast | Do I prefer continuity or a clear break? |
If you take photographs, place the camera at the same height and distance each time, avoiding an extreme wide-angle view. Stand normally rather than twisting into a pose. Use the images to compare the clothes, since lighting, lens choice and posture can all change apparent proportions. A photograph is a reference for a choice, not a verdict about your body.
Include a side view when it helps you understand how a garment hangs, and finish with a movement test. An outfit that looks tidy in one still image may pull at the shoulders, twist at the waist or require constant straightening. Comfort is information the camera cannot supply. Give it equal weight when choosing between two versions.
Keep purchases tied to a specific missing job
After a few comparisons, describe the gap in garment terms. Perhaps you need a shirt with a shorter hem to wear loose, a skirt with a less rigid waistband or a jacket that layers over your favorite sleeves. That description is more useful in a shop than asking for clothes for a rectangle shape. It also helps you reject something attractive that solves none of your actual dressing problems.
Bring the intended partner garment or wear it when shopping. A jacket may look good over a fitting-room camisole but feel awkward over your everyday work shirt. Check pockets with your phone inside, fasten the garment and sit down. Read the care label before buying, especially if the fabric needs a routine you know you will avoid. A wearable purchase should fit into the life around it.
Keep both silhouette options if you enjoy them. A straight dress, a softly shaped blouse and a belted coat can coexist without proving different things about your shape. The useful wardrobe is the one that gives you choices you actually use. Let the label suggest an experiment; let your own experience decide which clothes deserve space in the cupboard.